
Graphical User Interface
This page shows how to connect to the gui.hpc.unipr.it server using Remote Desktop Protocol (RDP).
Microsoft Windows (client)
Install the FortiClient VPN.
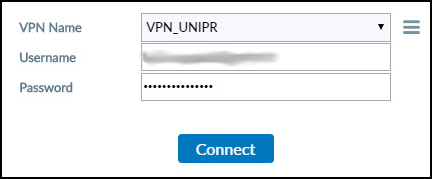
Activate the VPN connection:
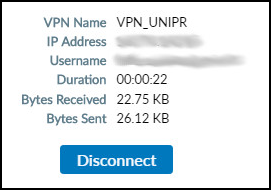
VPN connection activated:
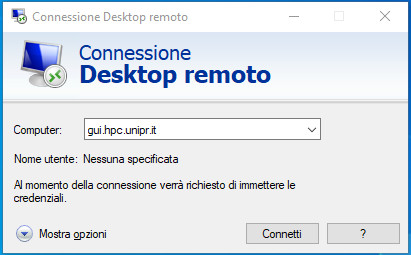
Connect to the gui.hpc.unipr.it server:
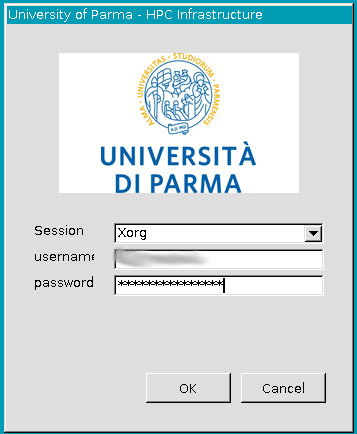
Insert username and password:
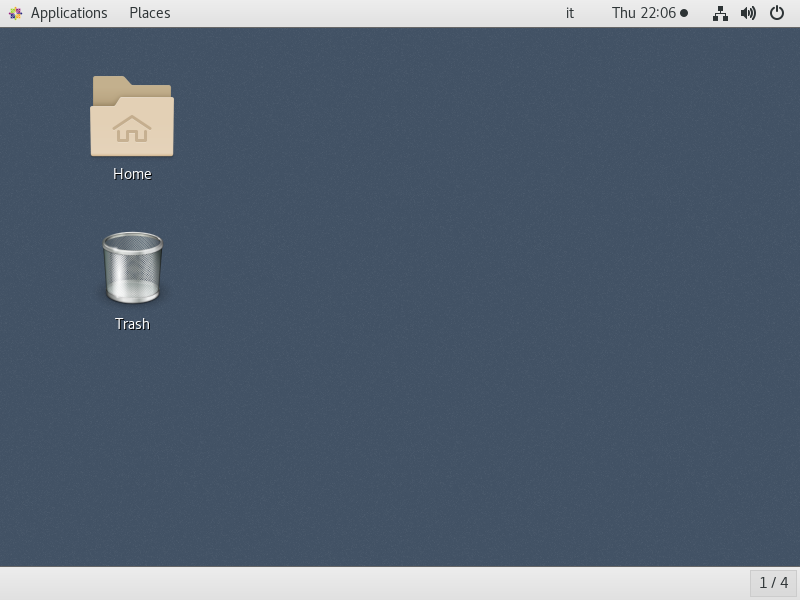
Here is the GNOME Desktop with a solid color background:
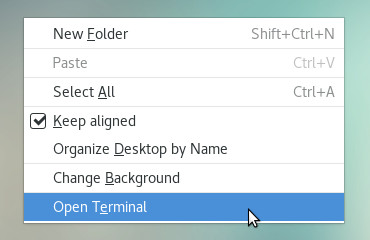
Press the right button and select "Open Terminal":
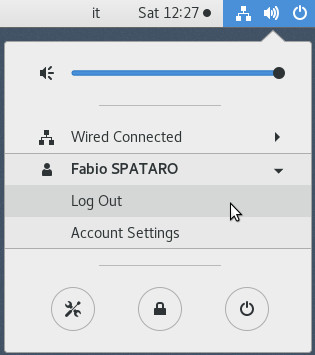
To disconnect from the "Remote Desktop", press the shutdown button (top right) then on the username and finally on "Log Out":
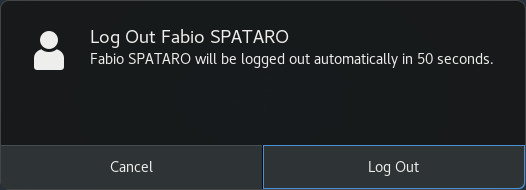
Confirm with "Log Out":
Linux (client)
Install the FortiClient VPN.
(You can try openfortivpn otherwise)
Install an X11 Remote Desktop Protocol (RDP) client like xfreerdp which is part of the FreeRDP project.
Activate the VPN connection.
Connect to the gui.hpc.unipr.it server:
xfreerdp \
    /u:<username> \
    /size:1440x900 \
    /v:gui.hpc.unipr.it \
    /port:3389 \
    /clipboard \
    /gdi:hw \
    /bpp:24 \
    /fonts \
    /cert-ignore
MacOS (client)
Install the FortiClient VPN.
Install one of the following remote desktop clients
to connect to the gui.hpc.unipr.it server.
X11 forwarding
Press the right button and select "Open Terminal".
Optionally, set the Italian keyboard layout using the X Keyboard Extension:
setxkbmap it
For testing purposes start the graphical program xeyes:
srun \
    --job-name=xeyes \
    --partition=vrt \
    --qos=vrt \
    --time=0-00:30:00 \
    --x11 \
    --pty \
    xeyes
Start (X-Window) CRYstalline Structures and DENsities (XCrySDen):
srun \
    --job-name=xcrysden \
    --nodes=1 \
    --ntasks-per-node=1 \
    --cpus-per-task=4 \
    --mem=10G \
    --partition=cpu \
    --qos=cpu \
    --time=0-01:00:00 \
    --x11 \
    --pty \
    bash -c 'module load apptainer xcrysden && xcrysden'